How to add and update the contacts for a property
You can view and manage the contacts for any record by clicking the record from your Prospects, Leads, or Deals list, or you can also access a contact record from the Contacts tab.
Add a contact in a property record
-
Locate the contact tab from within the property record and click on Add Contact.
-
Enter the contact's name and click Create New Contact.
Manually add a contact from the Contacts tab
- From the Contacts tab, click on Add Contacts on the upper right part of the page.

- Once the dropdown list appears, click on Add Contact.

- Enter the contact details. It must have a first and last name, and any one of the following information: contact number, mailing address, or email address. Once you're done, click on the Add Contact button.

Add or edit contact details
-
From the property record
-
From the contact record
- You can add more contact information by clicking on Add Phone, Add Email, or Add Address on the right side of the communications tab.

- To delete a contact information, click on the Trash icon on the far left side of the contact detail.
- You can also edit the contact type and social information of the owner on the left tab of the page. The contact type, and social media information are all user defined.
- You can add more contact information by clicking on Add Phone, Add Email, or Add Address on the right side of the communications tab.
Setting a contact information as primary
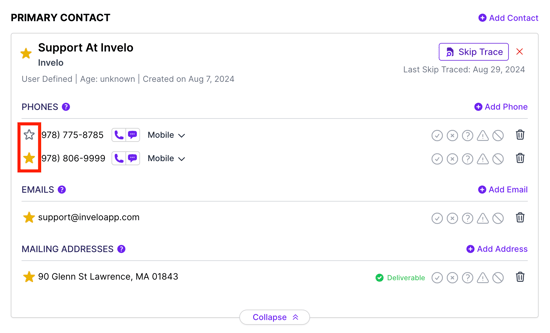
It's important to set primary contacts and their details, as this directly affects your marketing efforts. All marketing communications are sent to the primary contact associated with each record, using the contact information marked as primary. Primary contacts and their information are indicated by a yellow star.

To change the primary contact or contact information, simply click the star icon next to the contact or details you wish to set as primary.
Update the status of the contact information of a contact
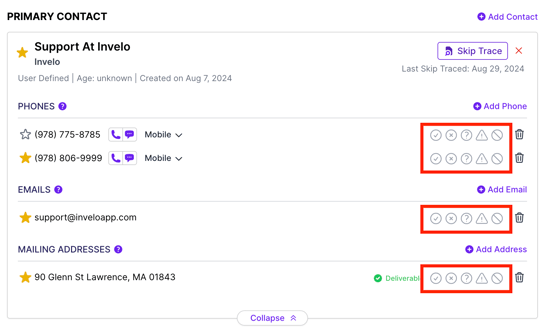
To ensure that you have the most up to date information for your contacts, a user can select the relevant status for the respective contact information (mailing address, email address, or phone number). This can be done after making contact with the user, or prior to making contact if the user knows the status of the information. This will ensure that marketing efforts are not sent to a specific contact's address, phone number or email address.
-
Click Expand for any contact to view additional details.
-
Find the contact information that you don't want to market to.
-
Select the status that is relevant to the contact method. You can hover the cursor over each symbol to see what each icon represents.

Note: If you mark a primary phone number or address as Don't Call or Don't Mail, you'll have to select a new primary contact information.


